
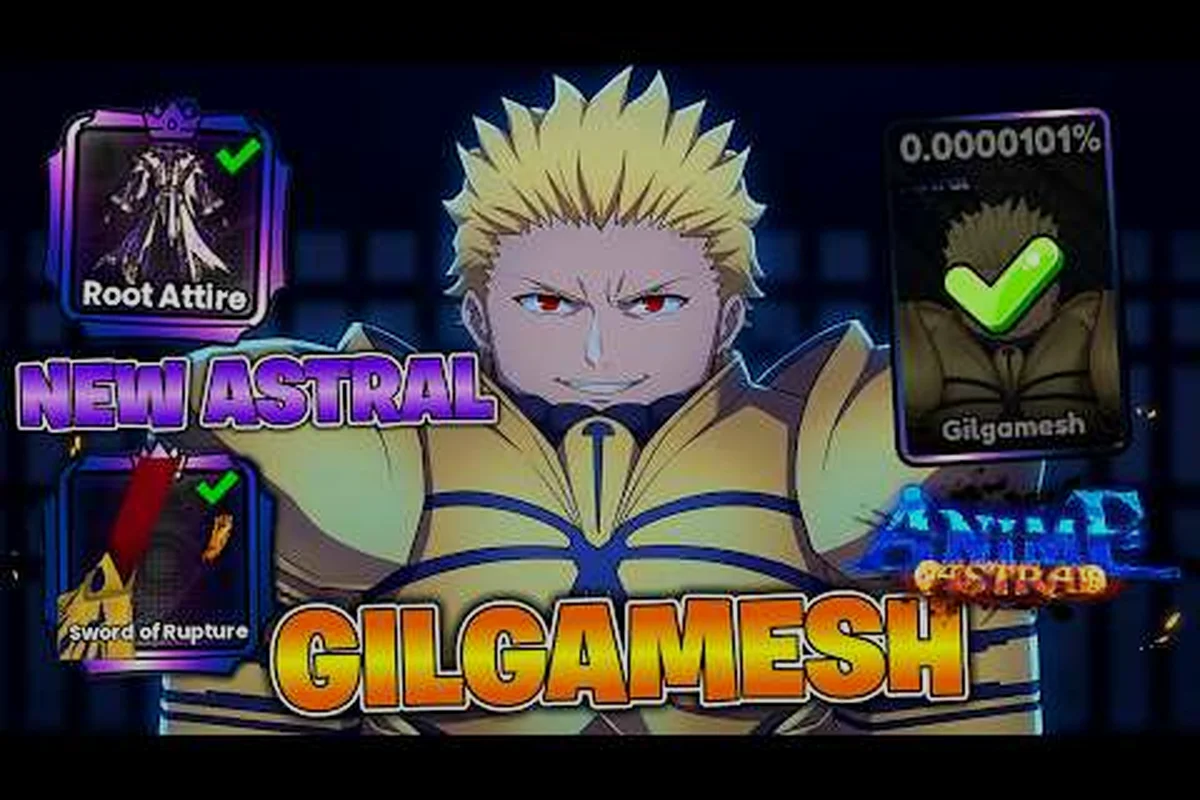
If you have been spinning in circles trying to figure out where the real accessory loot is hiding in Anime Astral Simulator, the short answer is that the best farms come from layered content rather than one magic zone. World boss kills, raid clears, and battle pass pickups each feed a different part of your accessory roster, and stacking the three is what turns a scattered inventory into the best damage combo. This guide lays out the actual routes players use right now, the drop rate expectations behind each source, and how to chain them into a repeatable loop.
Understanding the Accessory Drop Pipeline
The accessory system in Anime Astral Simulator runs on a layered source model. You are not meant to get every useful accessory from one location — instead, each content pillar contributes a specific tier of loot, and your weekly loop rotates between them. According to the official Anime Astral Simulator page on Roblox, the broader game is structured around collecting fighters, exploring worlds, and pushing gamemode rewards, and accessories plug directly into that same progression ladder. A September 2026 community review of Update 14.5 notes that accessory sources were rebalanced so that endgame content contributes a higher share of legendary-tier pieces than it did at launch.
Where Accessories Actually Come From
These five entry points each reward a different play pattern: world boss kills favor players who can solo or duo burst a spawn within the 5–15 minute cooldown window, raid completions demand a coordinated four-person setup to clear multi-phase mechanics for Epic → Legendary rolls, battle pass tiers passively drip Uncommon → Epic accessories as you climb the season track, repeat-loop farm stages let you bank Uncommon → Rare fodder at roughly one to three minutes per loop, and event / limited modes front-load Rare → Legendary drops but vanish once the time window closes.
| Source | Content Type | Typical Accessory Tier | Time Investment | Repeatable? |
|---|---|---|---|---|
| World Boss kills | Open-world boss spawns | Rare → Legendary | 5–15 min per attempt | Yes, with cooldown |
| Raid completions | Multi-phase group content | Epic → Legendary | 20–40 min per clear | Yes, weekly/daily lockouts |
| Battle Pass tiers | Season progression track | Uncommon → Epic | Passive, time-gated | Yes, per season |
| Repeat-loop farm stages | Standard mob farming | Uncommon → Rare | 1–3 min per loop | Yes, unlimited |
| Event / limited modes | Rotating game modes | Rare → Legendary | Varies | No, time-windowed |
For a focused accessory farm, the top three rows (world boss, raid, battle pass) give the highest item density per minute spent. The bottom two rows are best for filling inventory slots with uncommon and rare fodder that you can later use for crafting upgrades or reroll experiments.
Why Drop Rate Matters More Than Location
A common trap is to assume the highest-level world automatically gives the best accessories. In practice, accessory drop rate is tied to the source tier, not the world tier. A mid-level world boss with a boosted drop-rate event can out-drop an endgame boss during a dry patch, which is why experienced players track both the source and the active modifier list. Community data from the Anime Astral Simulator wiki hub suggests that legendary accessory odds from world boss kills sit around 3–6% during normal weeks and climb to roughly 10–14% during modifier-stacked events. The exact percentage varies by platform and version, so treat the figures as a planning range rather than a hard contract.
World Boss Accessories and Drop Mechanics
World bosses are the single most reliable source of high-tier accessories for solo or small-group players. Every world has a rotating boss spawn, and each kill drops a chest that includes accessory shards, full accessory items, and accessory-reroll currency. The boss pool itself matters: early worlds drop common-rarity accessories, mid-tier worlds introduce rare drops, and late-game worlds are where legendary pieces enter the rotation.
Reading the World Boss Schedule
| World Tier | Boss Name Example | Rarity Floor | Rarity Ceiling | Cooldown |
|---|---|---|---|---|
| Early | Hollow Wraith, Iron Sentinel | Uncommon | Rare | 10 min |
| Mid | Verdant Tyrant, Stormcaller | Rare | Epic | 15 min |
| Late | Astral Behemoth, Void Regent | Epic | Legendary | 20–30 min |
| Event-only | Crimson Oni, Frost Matriarch | Rare | Legendary | Varies |
A common farming route is to cycle through three late-game worlds in sequence, banking the cooldown windows by teleporting between them. Players report that chaining late-world kills in this way produces a legendary accessory roughly every 8–12 clears during normal weeks. When stacked with a damage accessory combo that boosts clear speed, the loop tightens further because faster kills mean more attempts per session.
Modifier Stacking for World Boss
World boss accessory drops respond to three modifiers: server luck bonus, active game mode buff, and party size scaling. Server luck is the most overlooked lever, and joining a populated server during a luck event can effectively double your perceived drop rate without changing your build. Damage-focused accessories do not directly raise drop rate, but they shorten kills, which compounds your session yield — a faster clear is another clear in the same hour.
If you are still building your fighter roster for boss damage, the best pet fighter guide covers how pet passives and accessory slots interact, which matters because some accessories only activate when a pet is in the active slot.
Raid Accessories and Lockout Strategy
Raids are the densest single source of epic and legendary accessories, and they are also the most gate-kept. Each raid difficulty tier (Normal, Hard, Expert) has its own reward table, and the accessory ceiling climbs with the difficulty. Most raids run on a daily or weekly lockout, which means you only get one crack at the top-tier table per reset — wasting the attempt on a half-prepped group is the single biggest mistake players make in this category.
Raid Difficulty vs Accessory Yield
| Raid Difficulty | Recommended Squad Size | Accessory Rarity Ceiling | Accessories per Clear | Reset Window |
|---|---|---|---|---|
| Normal | 2–4 | Rare | 1–2 | Daily |
| Hard | 4–6 | Epic | 2–3 | Daily |
| Expert | 6–8 | Legendary | 3–4 | Weekly |
| Private Server | Configurable | Same as hosted tier | Scales with rules | No lockout |
Expert clears are where the best damage accessory combo pieces originate, because legendary accessories tend to come with two stat rolls and a unique passive. Players chasing the accessory tier list top spots should treat Expert raid week as the highest-priority farm window. Private server runs are useful for practice and for farming the lower tiers, but they do not drop the exclusive legendary accessories that gate the meta.
Raid Accessory Drop Rate Breakdown
Reported drop rate for legendary accessories on Expert raids sits around 8–12% per qualifying kill, with the qualifying count scaled by the number of raid mechanics the group actually completes. Skipping mechanics — even on a clear — drops the legendary chance by roughly half. Players who learn the full mechanic rotation consistently report the higher end of that range, which is a clear argument for learning the fights instead of brute-forcing the enrage timer.
If you are still building out a squad that can clear Expert reliably, the raid team composition guide walks through how to balance carry, support, and boss-specialist roles so that every mechanic gets handled cleanly.
Battle Pass Accessories and Season-Long Payouts
The battle pass is the slowest accessory source, but it is also the most predictable. Every season track has accessory milestones baked into specific tier rewards, and unlike world boss or raid drops, you know exactly when each item will land in your inventory. This makes the battle pass the foundation that the other two sources layer on top of.
Battle Pass Accessory Tier Yield by Track
| Pass Tier | Accessory Quality | Accessory Type | Notes |
|---|---|---|---|
| Free tier (low) | Uncommon | Stat-stick rings | Quantity filler |
| Free tier (mid) | Rare | Belt or charm | Useful early |
| Premium tier (low) | Rare | Set-piece shoulder | Begins set bonuses |
| Premium tier (mid) | Epic | Damage amulet | High stat roll |
| Premium tier (high) | Legendary | Set-piece shoulder | Completes 2-piece |
| Premium+ tier (top) | Legendary | Damage amulet (alt roll) | Builds combo flexibility |
A well-paced season player who finishes the premium track will end up with at least one legendary accessory plus a full epic set, and the set bonuses alone justify the pass purchase for players pushing the accessory tier list. The catch is that the season timer is fixed: missing a week of dailies pushes the legendary milestone out of reach, and the only way to recover is buying tier skips with premium currency. According to community data, roughly 60% of active players finish the premium pass, and only about a third of those reach the top legendary slot.
Pairing Battle Pass With Other Sources
The smartest accessory farm loops are built so that battle pass milestones and raid resets land on the same day, which lets you push both tracks in a single session. A typical weekly plan looks like: Monday battle pass push, Wednesday raid reset, Saturday world boss sweep. Players who spread their time evenly across the three days report better accessory coverage per week than those who binge one source and ignore the other two.
Building the Best Damage Accessory Combo
Once you have a healthy stock of accessories, the real question becomes which pieces to equip together. The accessory tier list is a useful starting point, but the best damage accessory combo is rarely the literal top three items — it is the three items whose passives do not overlap and whose stat rolls complement your main fighter's damage profile.
Accessory Tier List Snapshot (September 2026)
| Tier | Accessory Examples | Strengths | Weaknesses |
|---|---|---|---|
| S | Voidstone Amulet, Astral Shoulders (Legendary) | High flat damage + set bonus | Slow farm, no luck stat |
| A | Crimson Belt, Stormcaller Charm | Strong elemental scaling | Requires matching element |
| B | Verdant Ring, Iron Sigil | Balanced stats, easy to farm | No set bonus |
| C | Hollow Pendant, Wraith Charm | Stat filler, upgrade fodder | No endgame use |
Combo Rules That Actually Work
Three rules consistently show up in the strongest damage accessory combos used by players farming Voidstone Amulets, Crimson Belts, and raid-only drops like the Astral two-piece sets. They work because they account for the real constraints in Anime Astral Simulator: short burst fights favor flat damage, sustained boss attempts reward scaling stats, and event weeks like the Luck Storm modifier literally invalidate the static tier list.
-
One flat damage piece, one scaling piece, one utility piece. Flat damage (Voidstone Amulet) wins on short fights; scaling pieces (Crimson Belt) win on long fights; utility pieces (luck or cooldown) keep the farm loop itself moving. Mixing all three means you are never wrong for the fight length.
-
Match the set bonus before chasing stats. A two-piece Astral set with mid rolls usually out-damages a mixed loadout with perfect rolls, because the set bonus multiplies everything else.
-
Keep one open slot for the active event modifier. During modifier-stacked weeks, the best-in-slot piece is often the one that interacts with the current buff, not the static top of the tier list.
Players who farm a deep accessory inventory across the Voidstone Amulet, Crimson Belt, world boss loot tables, and battle pass reward tracks are the ones who can actually rotate pieces based on the encounter, which is why stacking sources matters more than chasing any single drop; in practice, top damage runs log roughly a 15–20% clear-time improvement when a build swaps a static Tier-1 piece for a modifier-aligned utility accessory during a Luck Storm week rather than forcing a frozen Astral two-piece bonus.
Frequently Asked Questions
What is the fastest way to farm accessories in Anime Astral Simulator?
The fastest farm cycle chains late-world boss kills with cooldown windows and one Expert raid per reset. Players using this loop report a legendary accessory roughly every 8–12 boss clears plus one guaranteed legendary pull from the weekly raid, which is the highest sustained rate in the current patch.
Where do world boss accessories drop from most often?
Late-game worlds like the Astral and Void regions drop the highest density of legendary accessories, with reported odds in the 3–6% range during normal weeks. Stacking a server luck modifier and a damage-focused build tightens the per-session yield even when the raw drop rate stays the same.
Are raid accessories better than battle pass accessories?
Raid accessories pull ahead on raw stat ceiling because Expert raids can drop legendaries with two stat rolls and a unique passive. Battle pass accessories win on predictability and set completion, which is why the top accessory tier list players use a mix of both sources rather than committing fully to one.
How does accessory drop rate change during events?
Modifier-stacked events roughly double the effective legendary rate across world boss and event-mode drops, which puts legendary accessory odds in the 10–14% range during peak event weeks. Plan your deepest farm sessions around these windows, because the same time investment during a dry week yields noticeably less.
Can I reroll bad accessory stats?
Yes, but reroll currency is gated behind raid and event rewards, so it pays to be selective about which accessories you spend rolls on. Most accessory tier list veterans recommend rerolling only epic or legendary pieces with at least one strong stat, because rerolling a rare piece usually returns a rare piece.